Fitting a Thule Veloslide without drilling the garage floor
April 11, 2026We have an Adria Compact DL (2025 model year). This motorhome has a great garage and we like to keep our bikes in it, not least because it keeps them out of site and nice and dry. Having tried various way to fit the bikes into the garage I decided to use a Thule Veloslide, however, I didn't want to have to drill the garage floor, as is the suggested method.
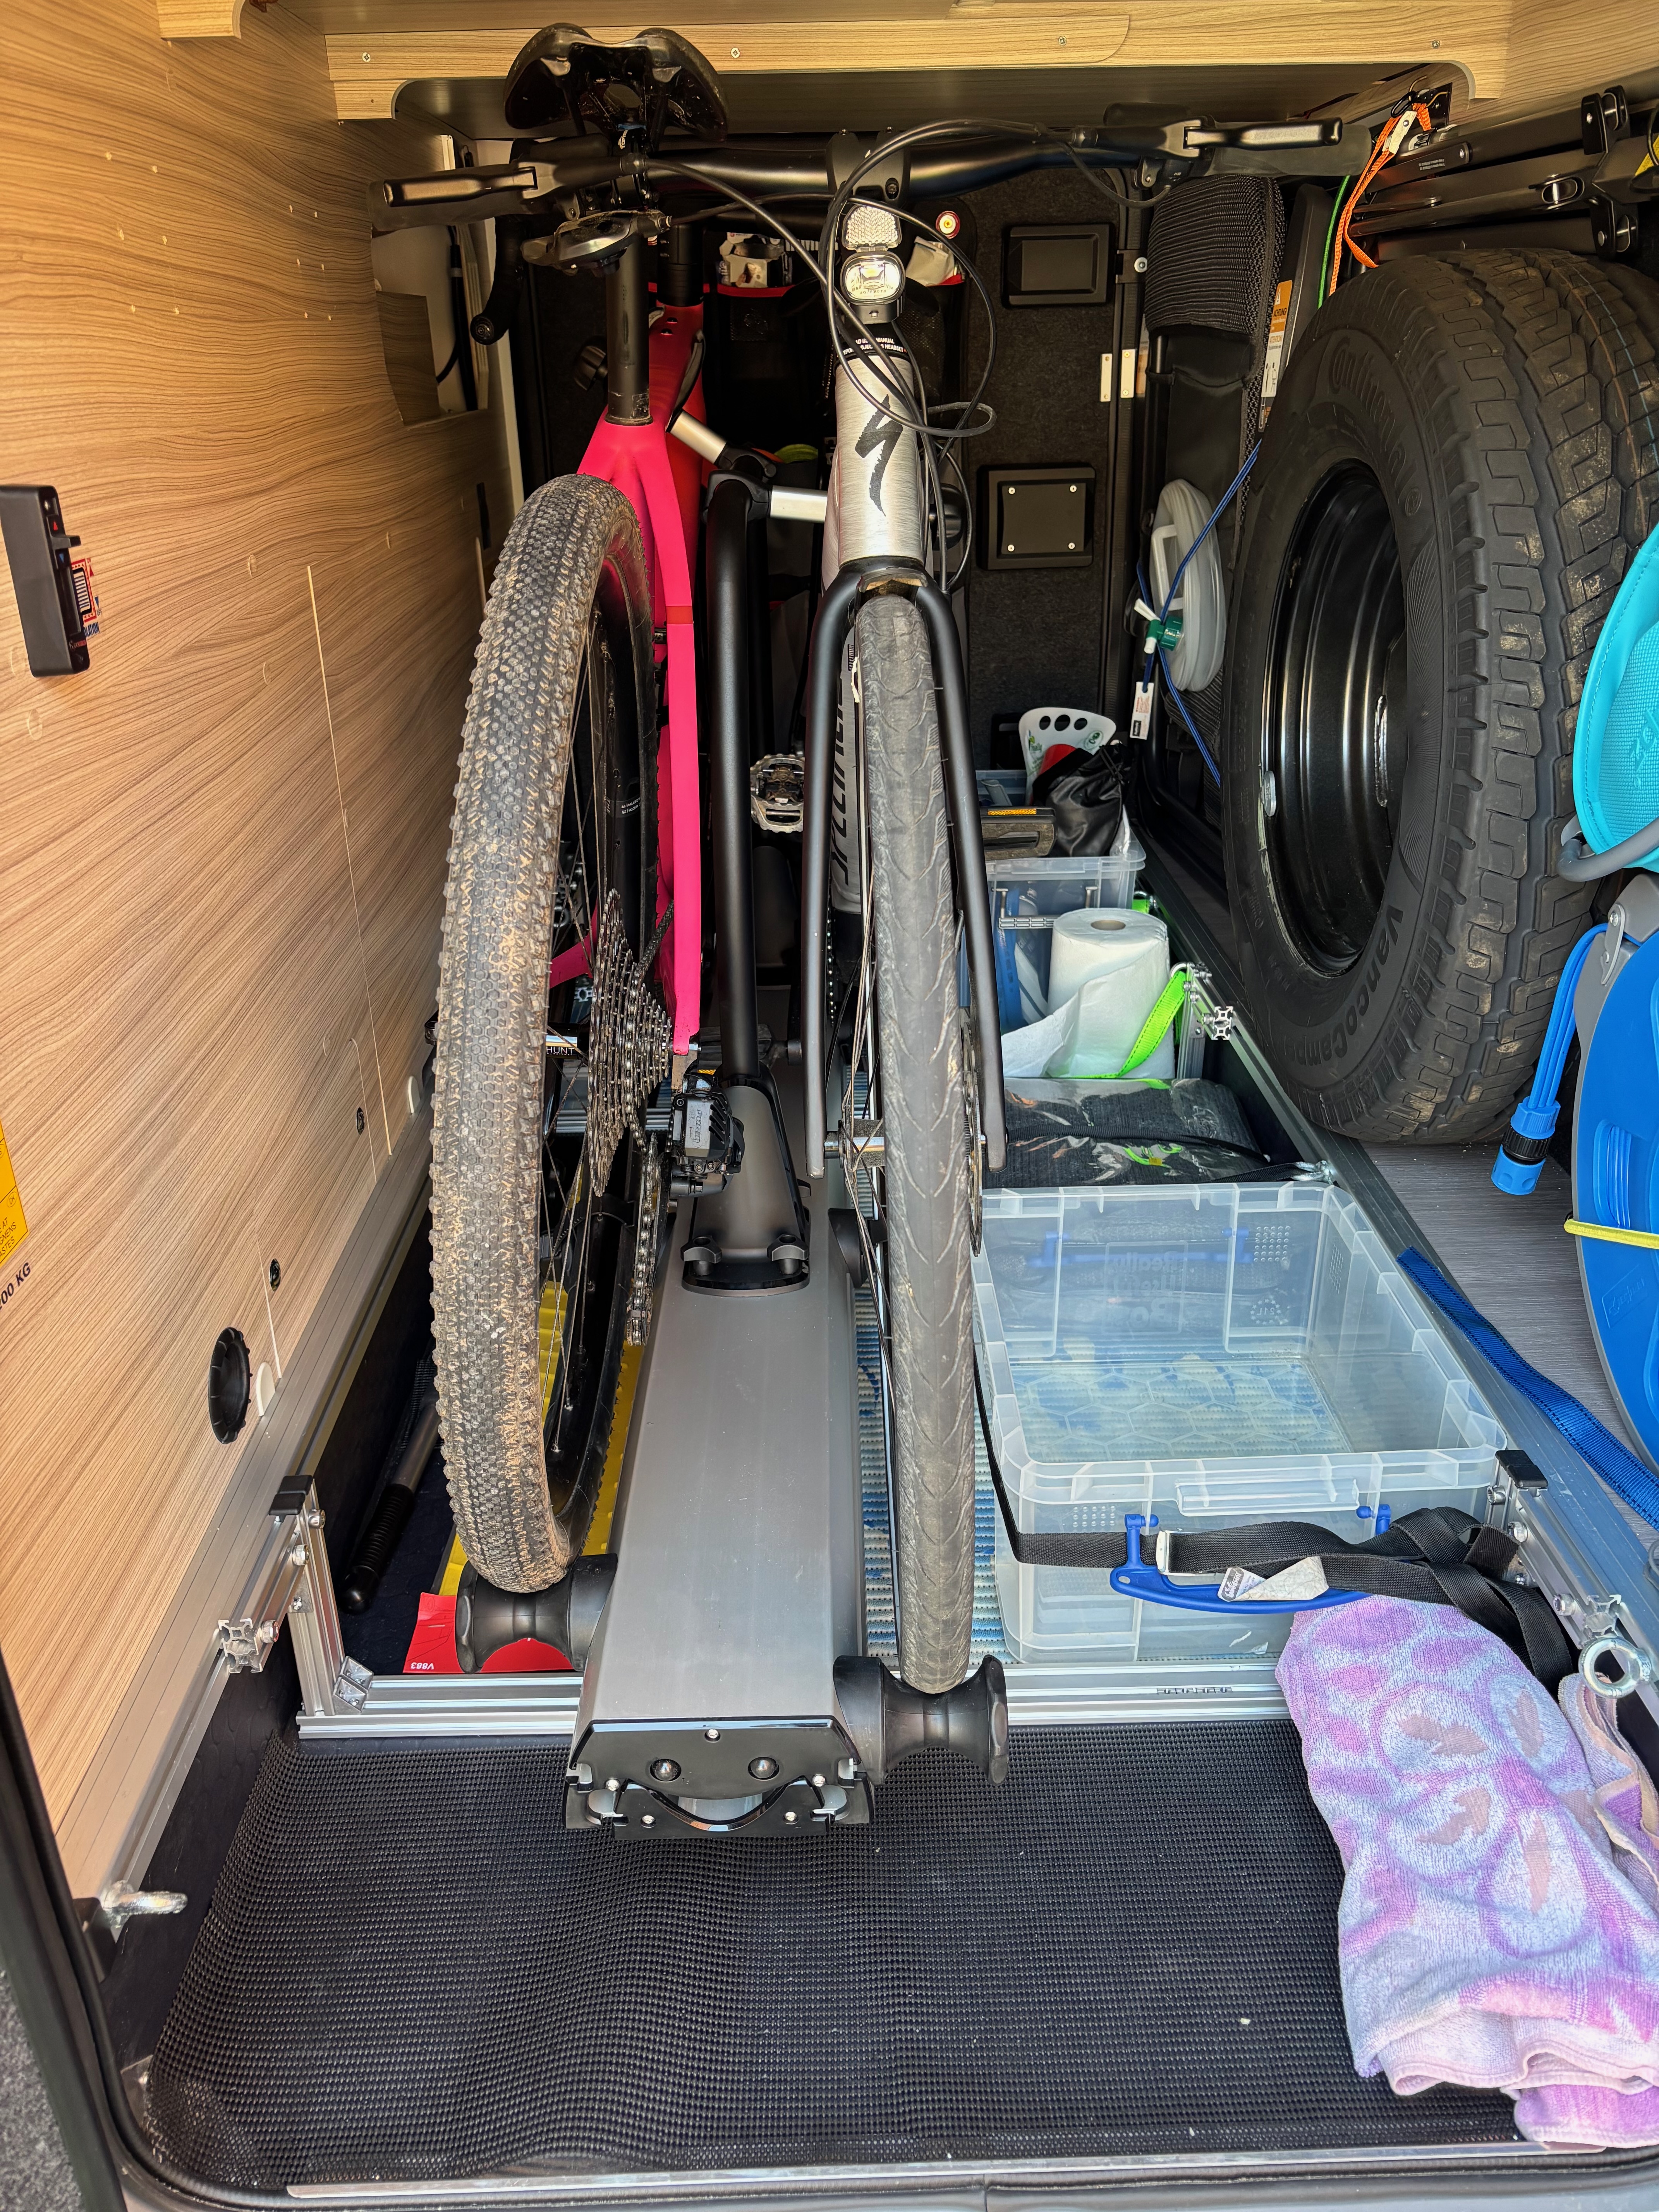
Instead I decided to make a frame that the Veloslide could be mounted on that would rest on the garage floor but which would be attached to the rails installed by Adria in the garage. The installation (still a couple of bits to complete) is shown in the picture below.
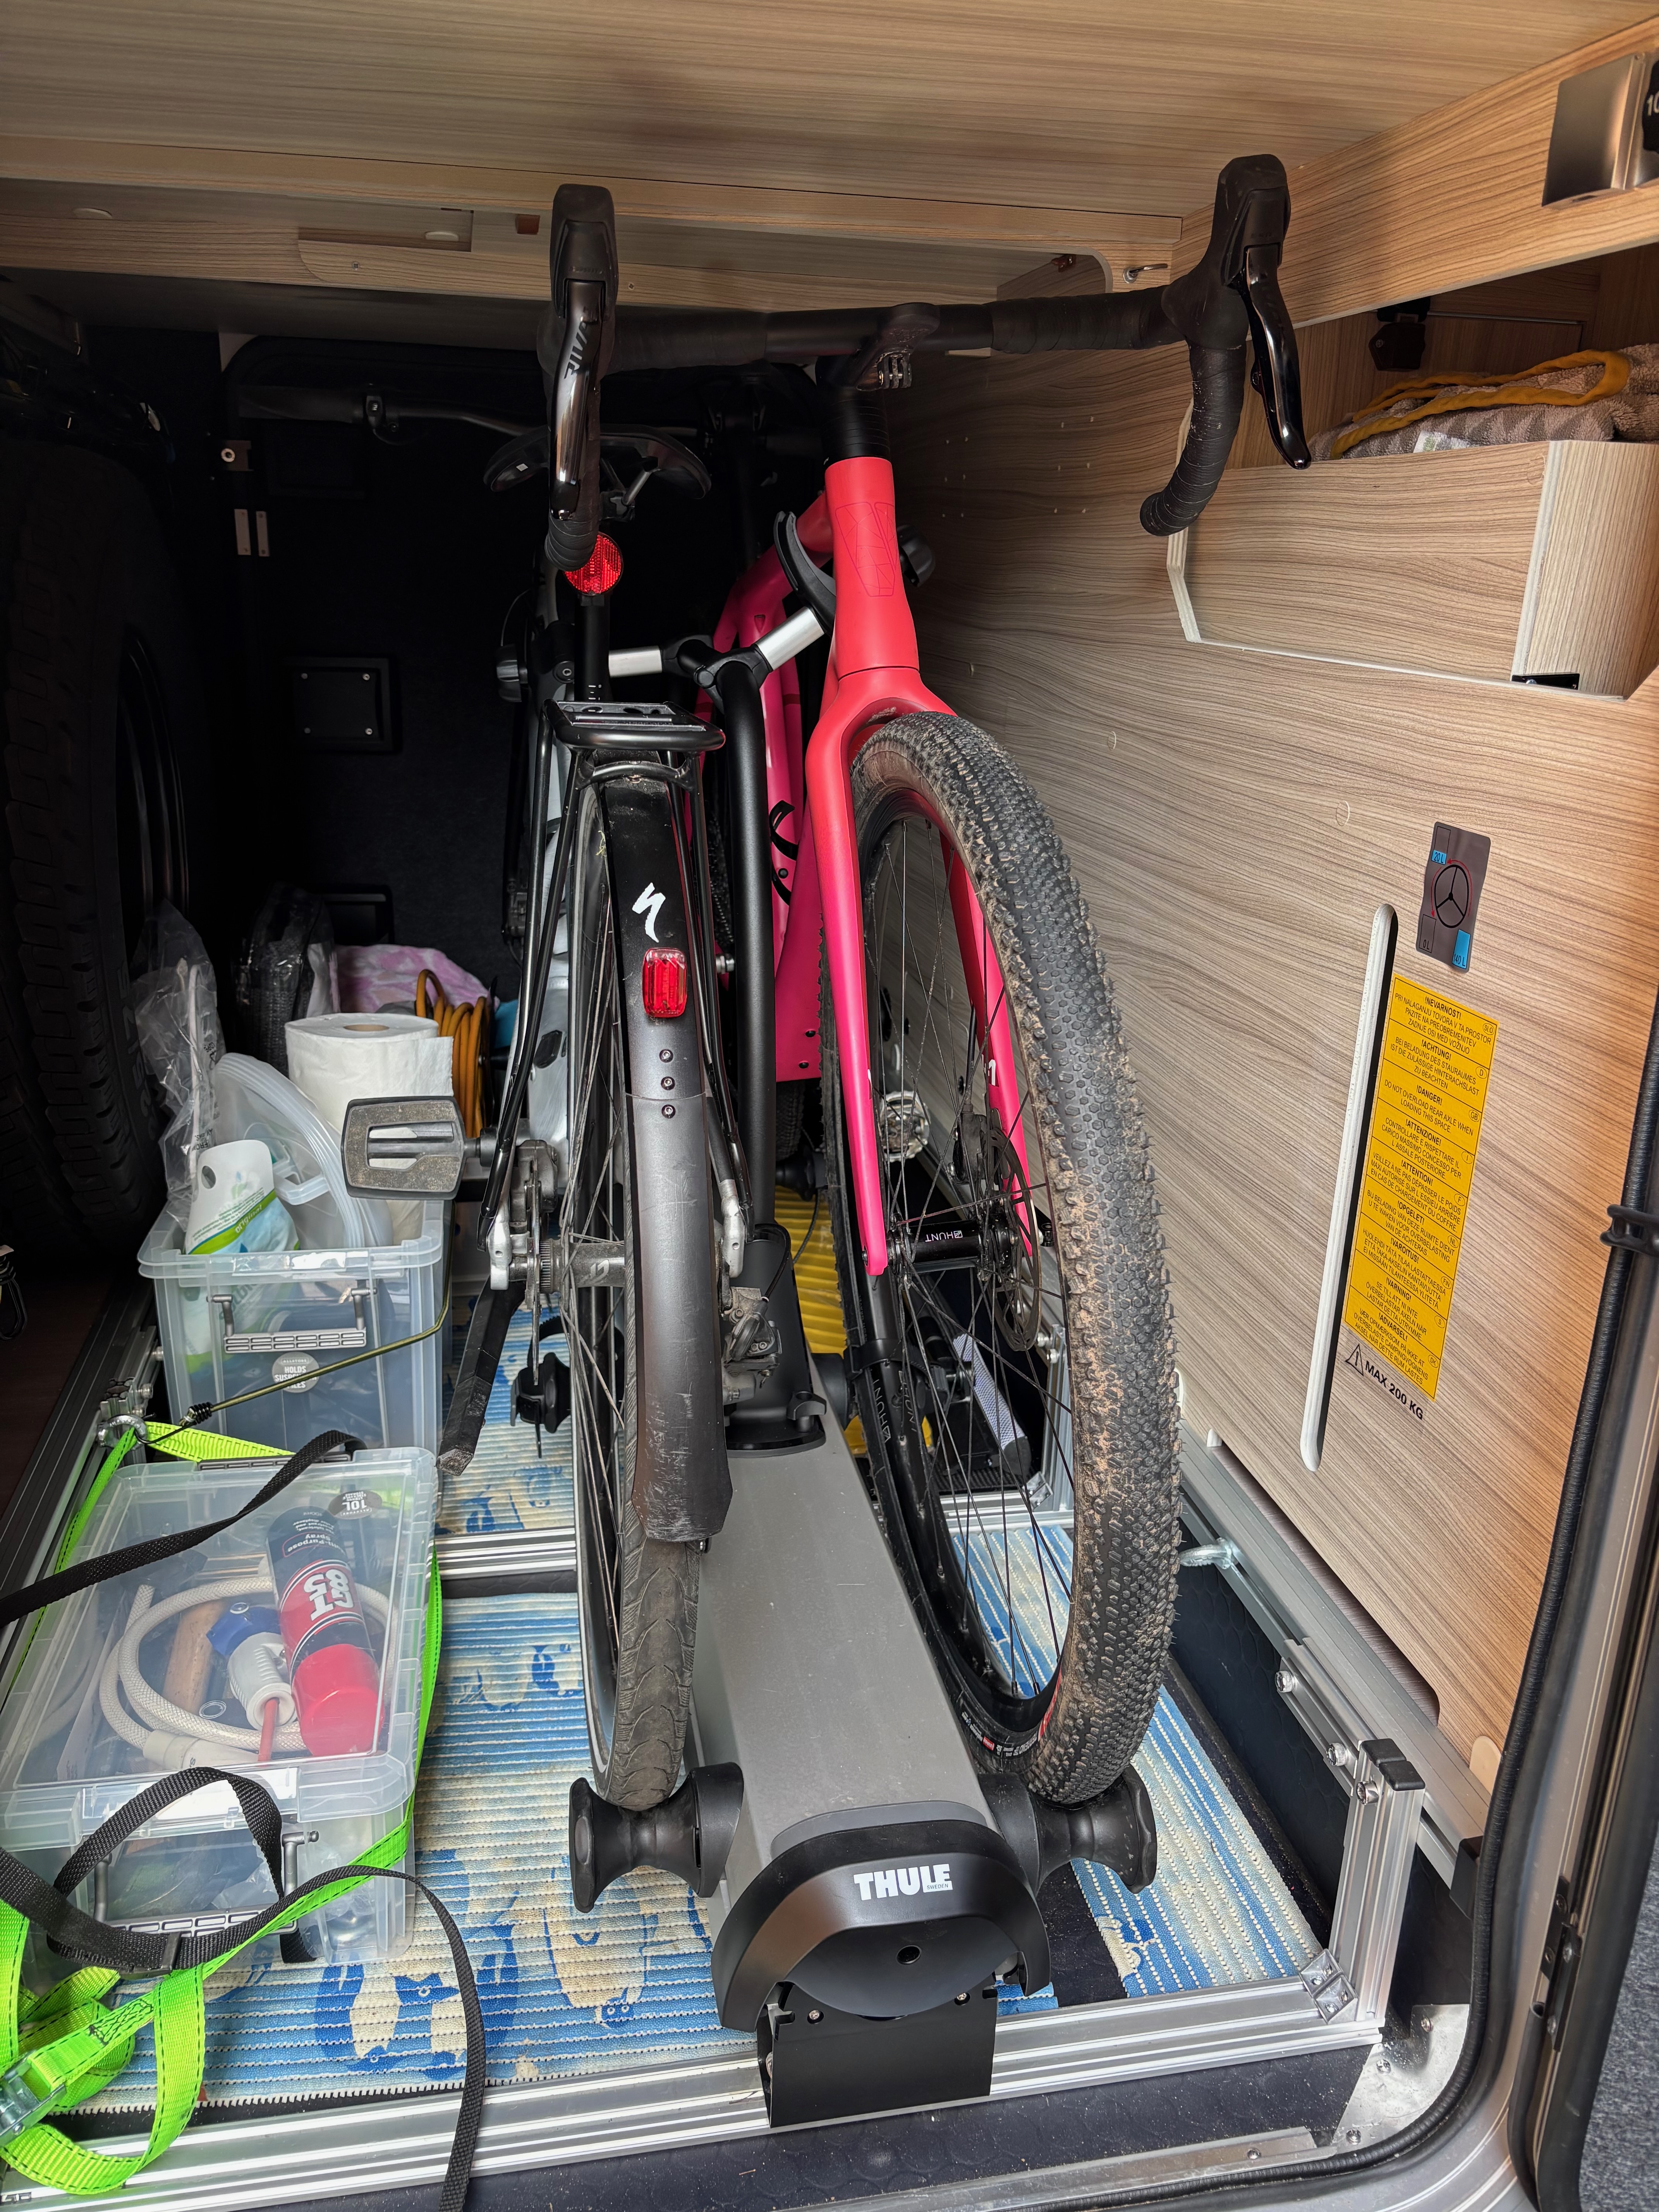
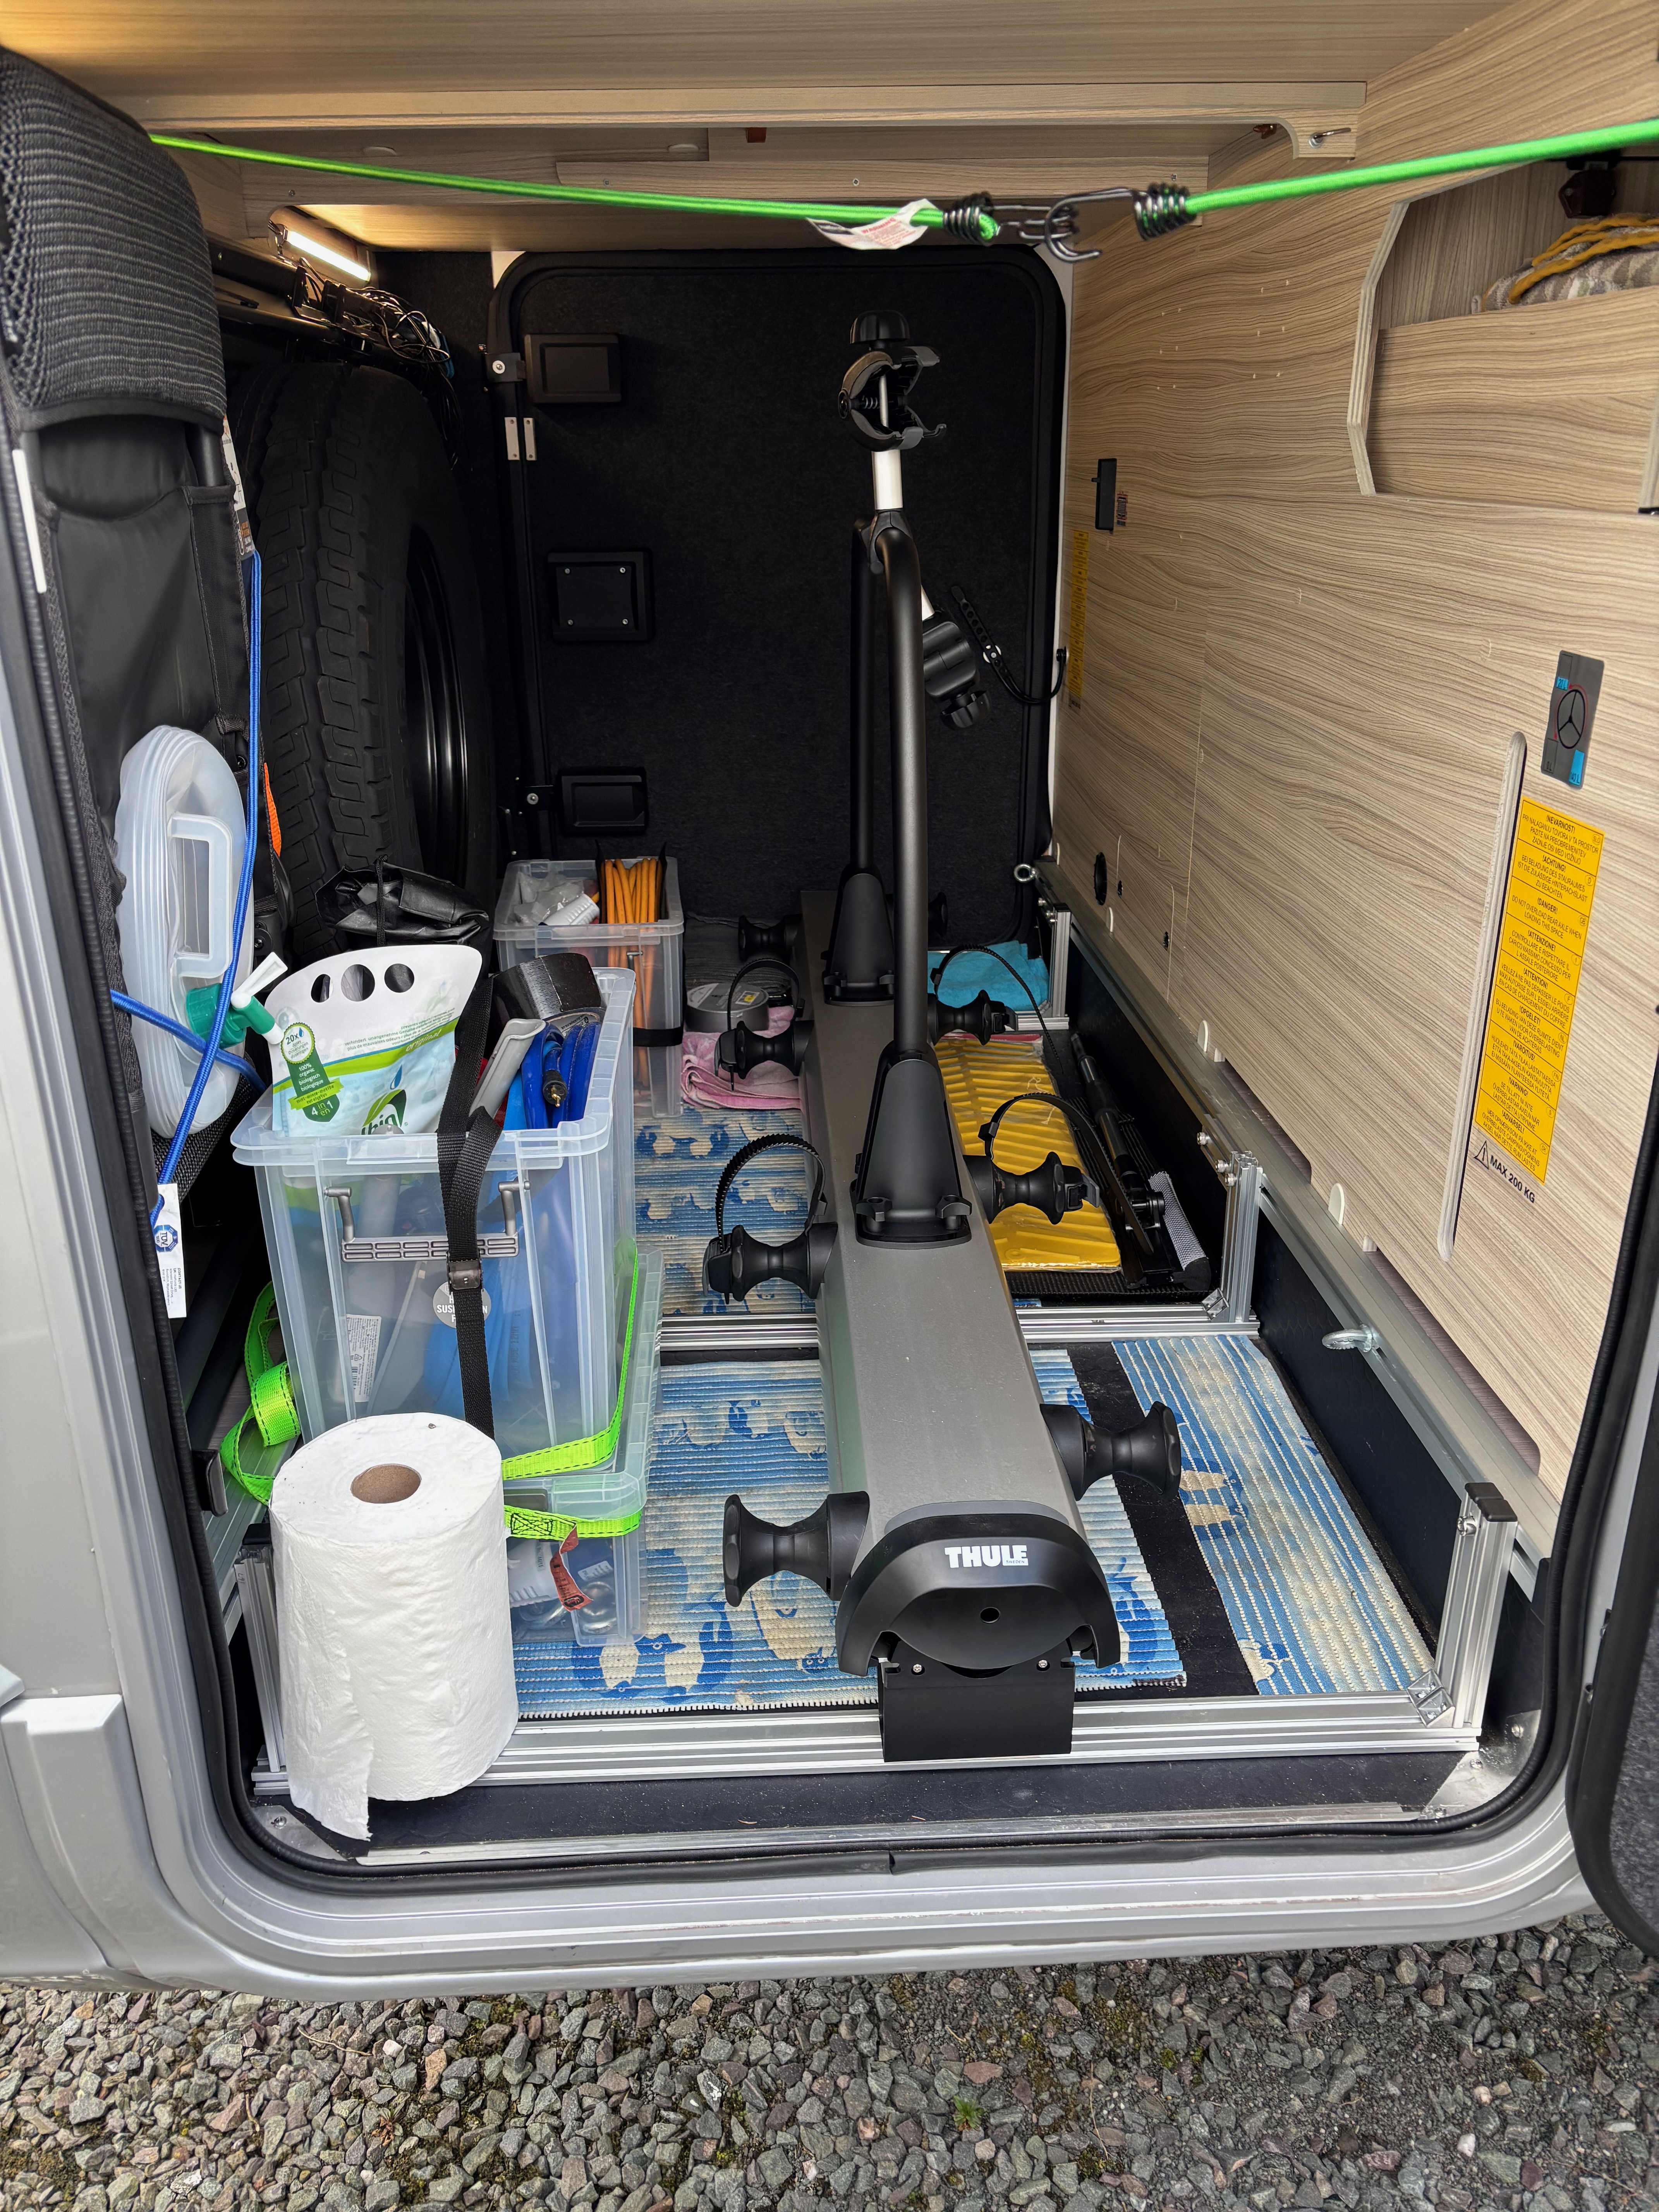 In our case we decided to install it so that the bikes would enter and exit on the driver side door. There are three mounting points required for the Veloslide. The one neares the door can be seen above the aluminium extrusion. These are intended to be secured to aluminium cross rails supplied by Thule (at additional cost) that are then bolted into the floor. What I have done here is to make an aluminium structure to use instead. This is then secured to the mounting rails that Adria installs on both sides of the garage about 180mm above the floor. These rails have an 8mm slot and are most usually used for eye bolts as can be seen in the picture.
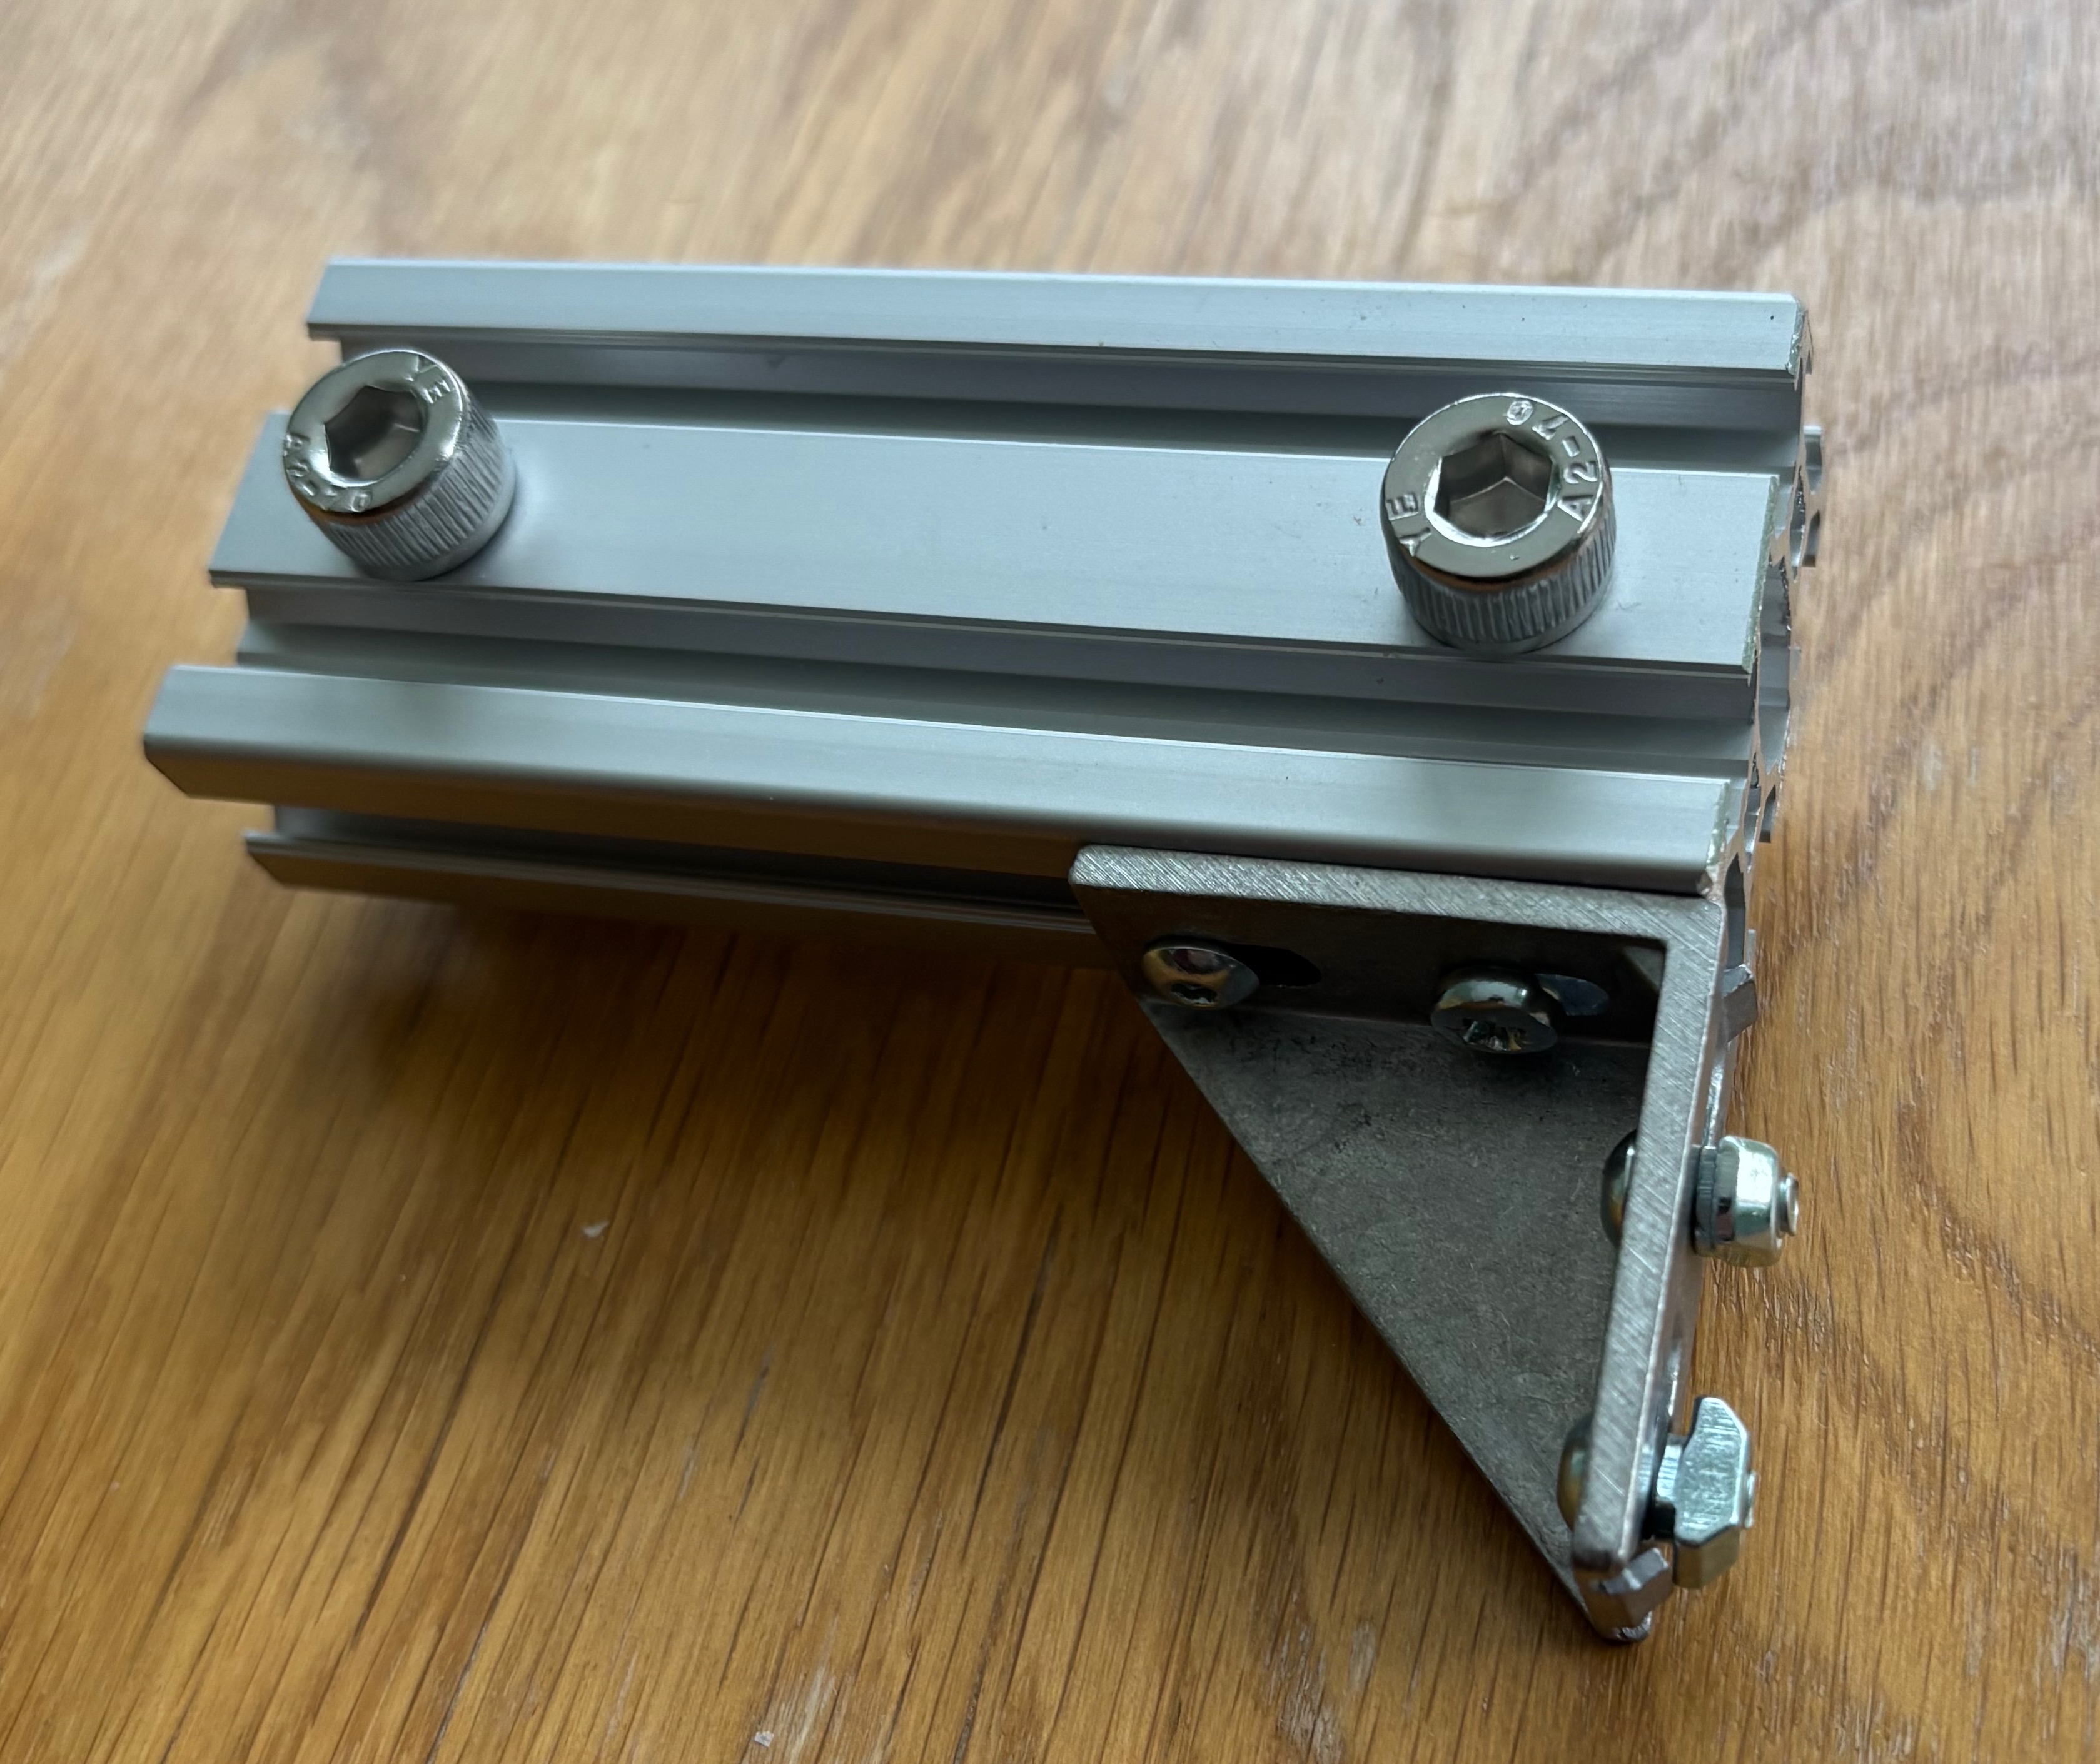
I have constructed the support structure that I am bolting the veloslide to from 40 x 20 aluminium extrusion with the Bosch Rexforth profile. This was supplied by KJN Automation and the parts used with the KJN Sku are below. The KJN site is at https://www.aluminium-profile.co.uk
| Part Name | SKU | Vendor |
|---|---|---|
| 20 x 40 Aluminium Profile | KJN992891 | KJN |
| 20 x 40 Bracket with Fixings - BR only | KJN523520 | KJN |
| M4 T NUT | KJN523135 | KJN |
| M4x8 Button Head Screws | M4x8 | KJN |
| 20 x 20 Bracket with Fixings - BR only | KJN523511 | KJN |
| M4 T NUT | KJN523135 | KJN |
| M4 x 8 Button Screw | butm4x8 | KJN |
| M5 Slide Block | KJN523142 | KJN |
| M8 T Nut | KJN530287 | KJN |
| Eye Bolts - M5 | Link | Amazon |
| M8x30mm Cap Head Screws | Link | Amazon |
| 20x40 End Cap | KJN548743 | KJN |
The three sections of the aluminium structure should all have horizontal section added to them as in the image below. These have been added to the two structures furthest from the garage door and will be added to the remaining two shortly. These are to provide additional stability and to make sure that the supporting rails do not twist sideways.
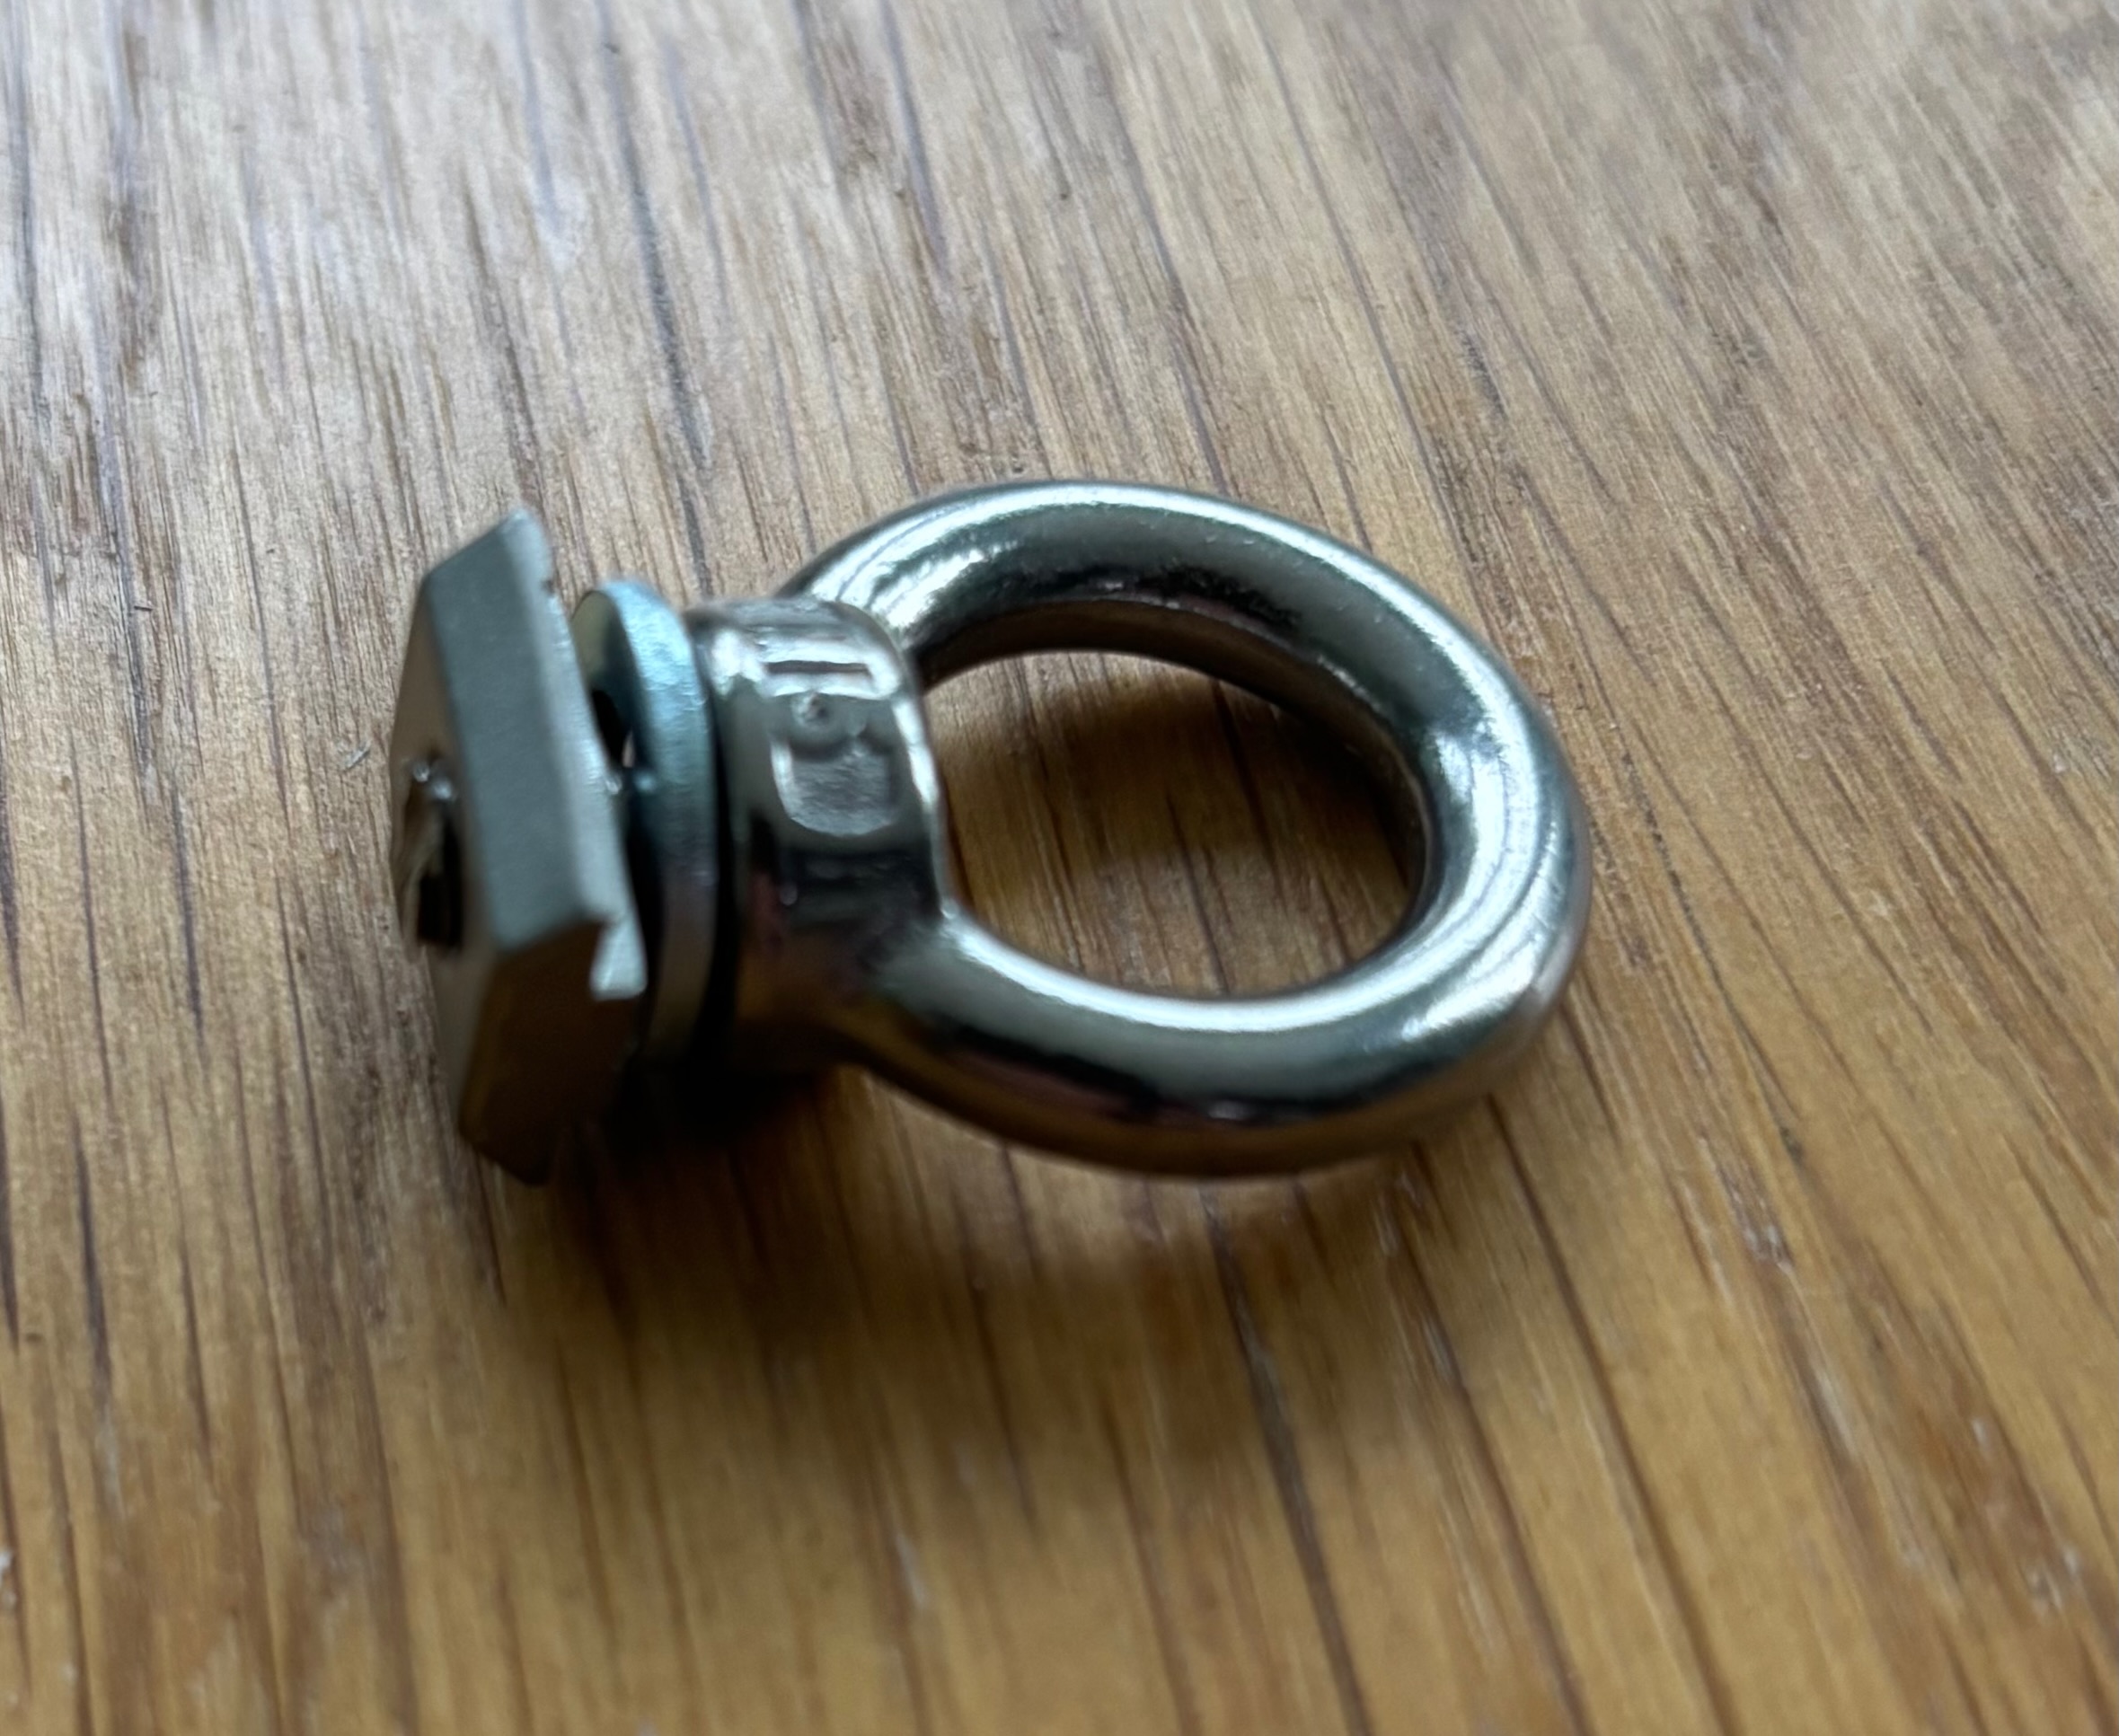
 In order to attach the Veloslide to the rails I have used the eyebolts shown below. I had to shorten the threaded section since it was too long, indeed this is one of the trickiest parts. Also, the slides they attach to need to be added to the slots in horizontal cross beams before they are installed, as its not possible to add them afterwards. The slides are very useful since they allow you to loosen the eye bolts and then move the veloslide across the garage to a position that suits. If you can get hold of some M5 T-Bolts this would be a lot easier, but if not then I used a hacksaw to cut the eyebolt screwthread and then the side of an anglegrinder (a file would also work) to smooth the end of the thread. If you put a nut onto the thread before cutting then by unscrewing and re-screwing the nut afterwards and damage to the thread can be overcome.!
Dimensions of the vertical and horizontal parts of the structure are shown in the picture below:
.jpeg) The longer cross piece I had cut to 855mm but best to check.
The longer cross piece I had cut to 855mm but best to check.
The diagram below shows another view with an enlargement of the middle cross beam and mounting structure.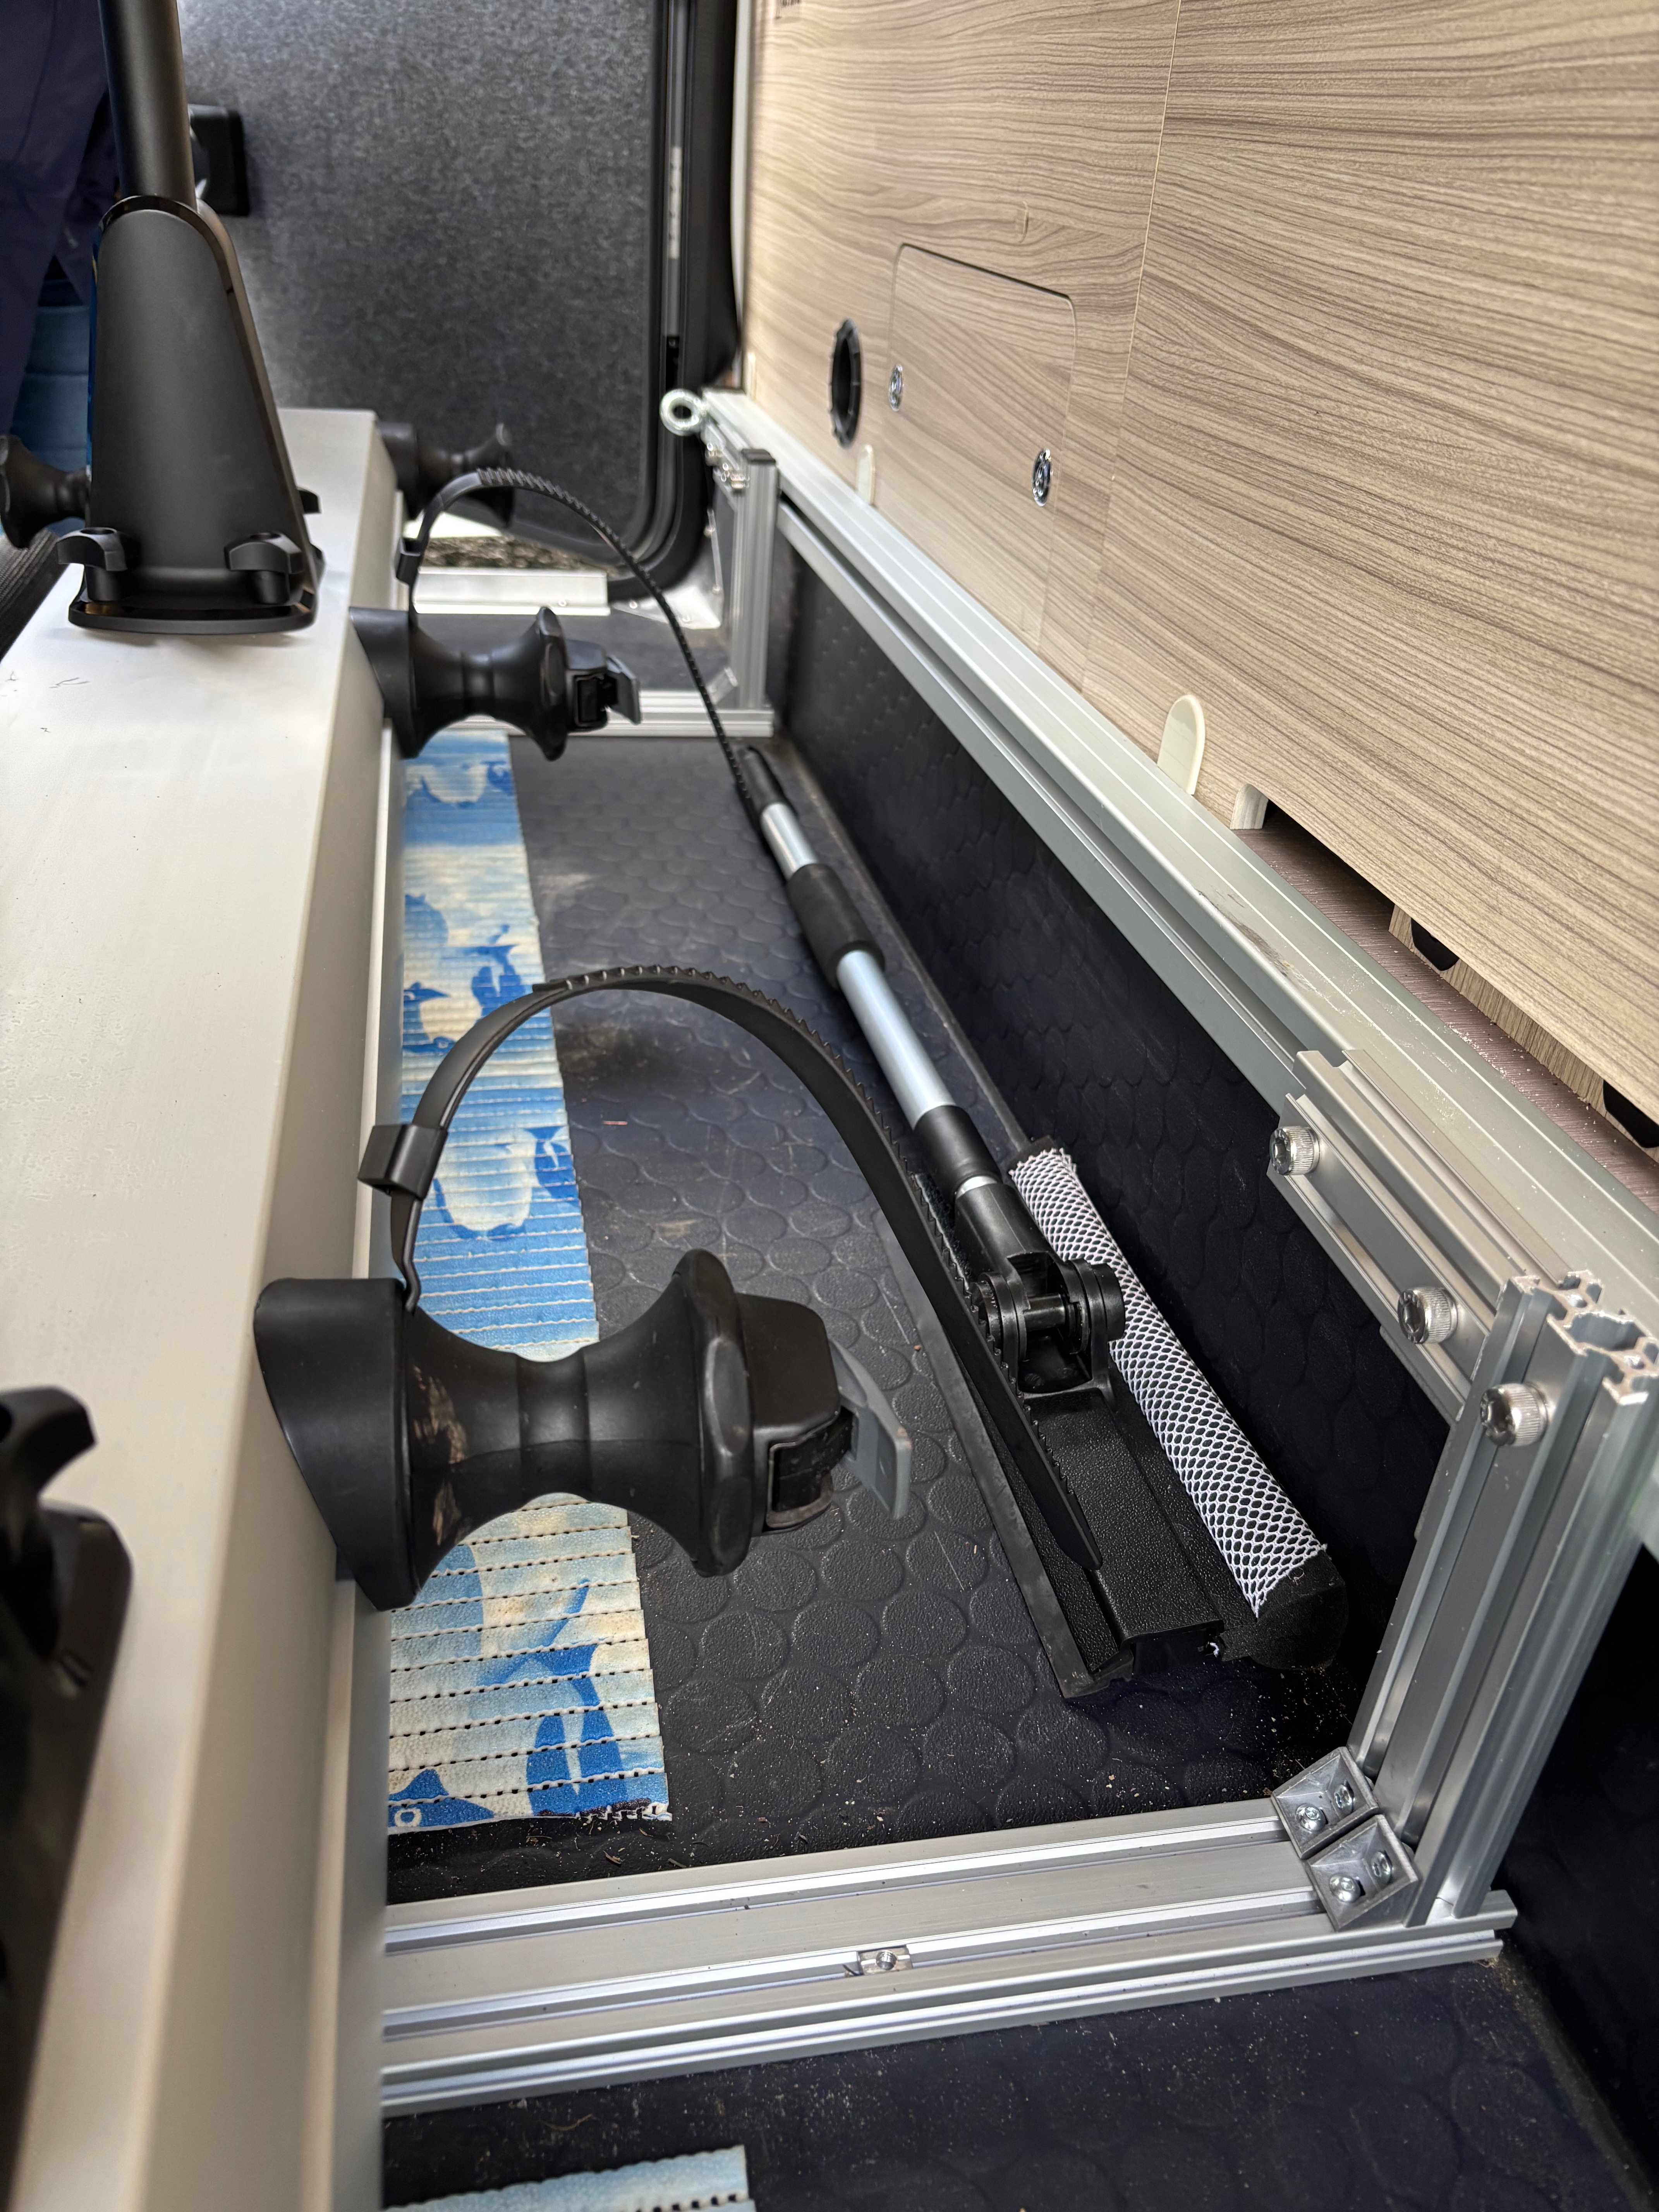
You can also see one of the small slides in the extruded section. I usually add more than I need as I can then use the cross members to tie down other things.
I hope this is useful. I can be a bit of a fiddle to get it all setup but at least it avoids drilling the floor.
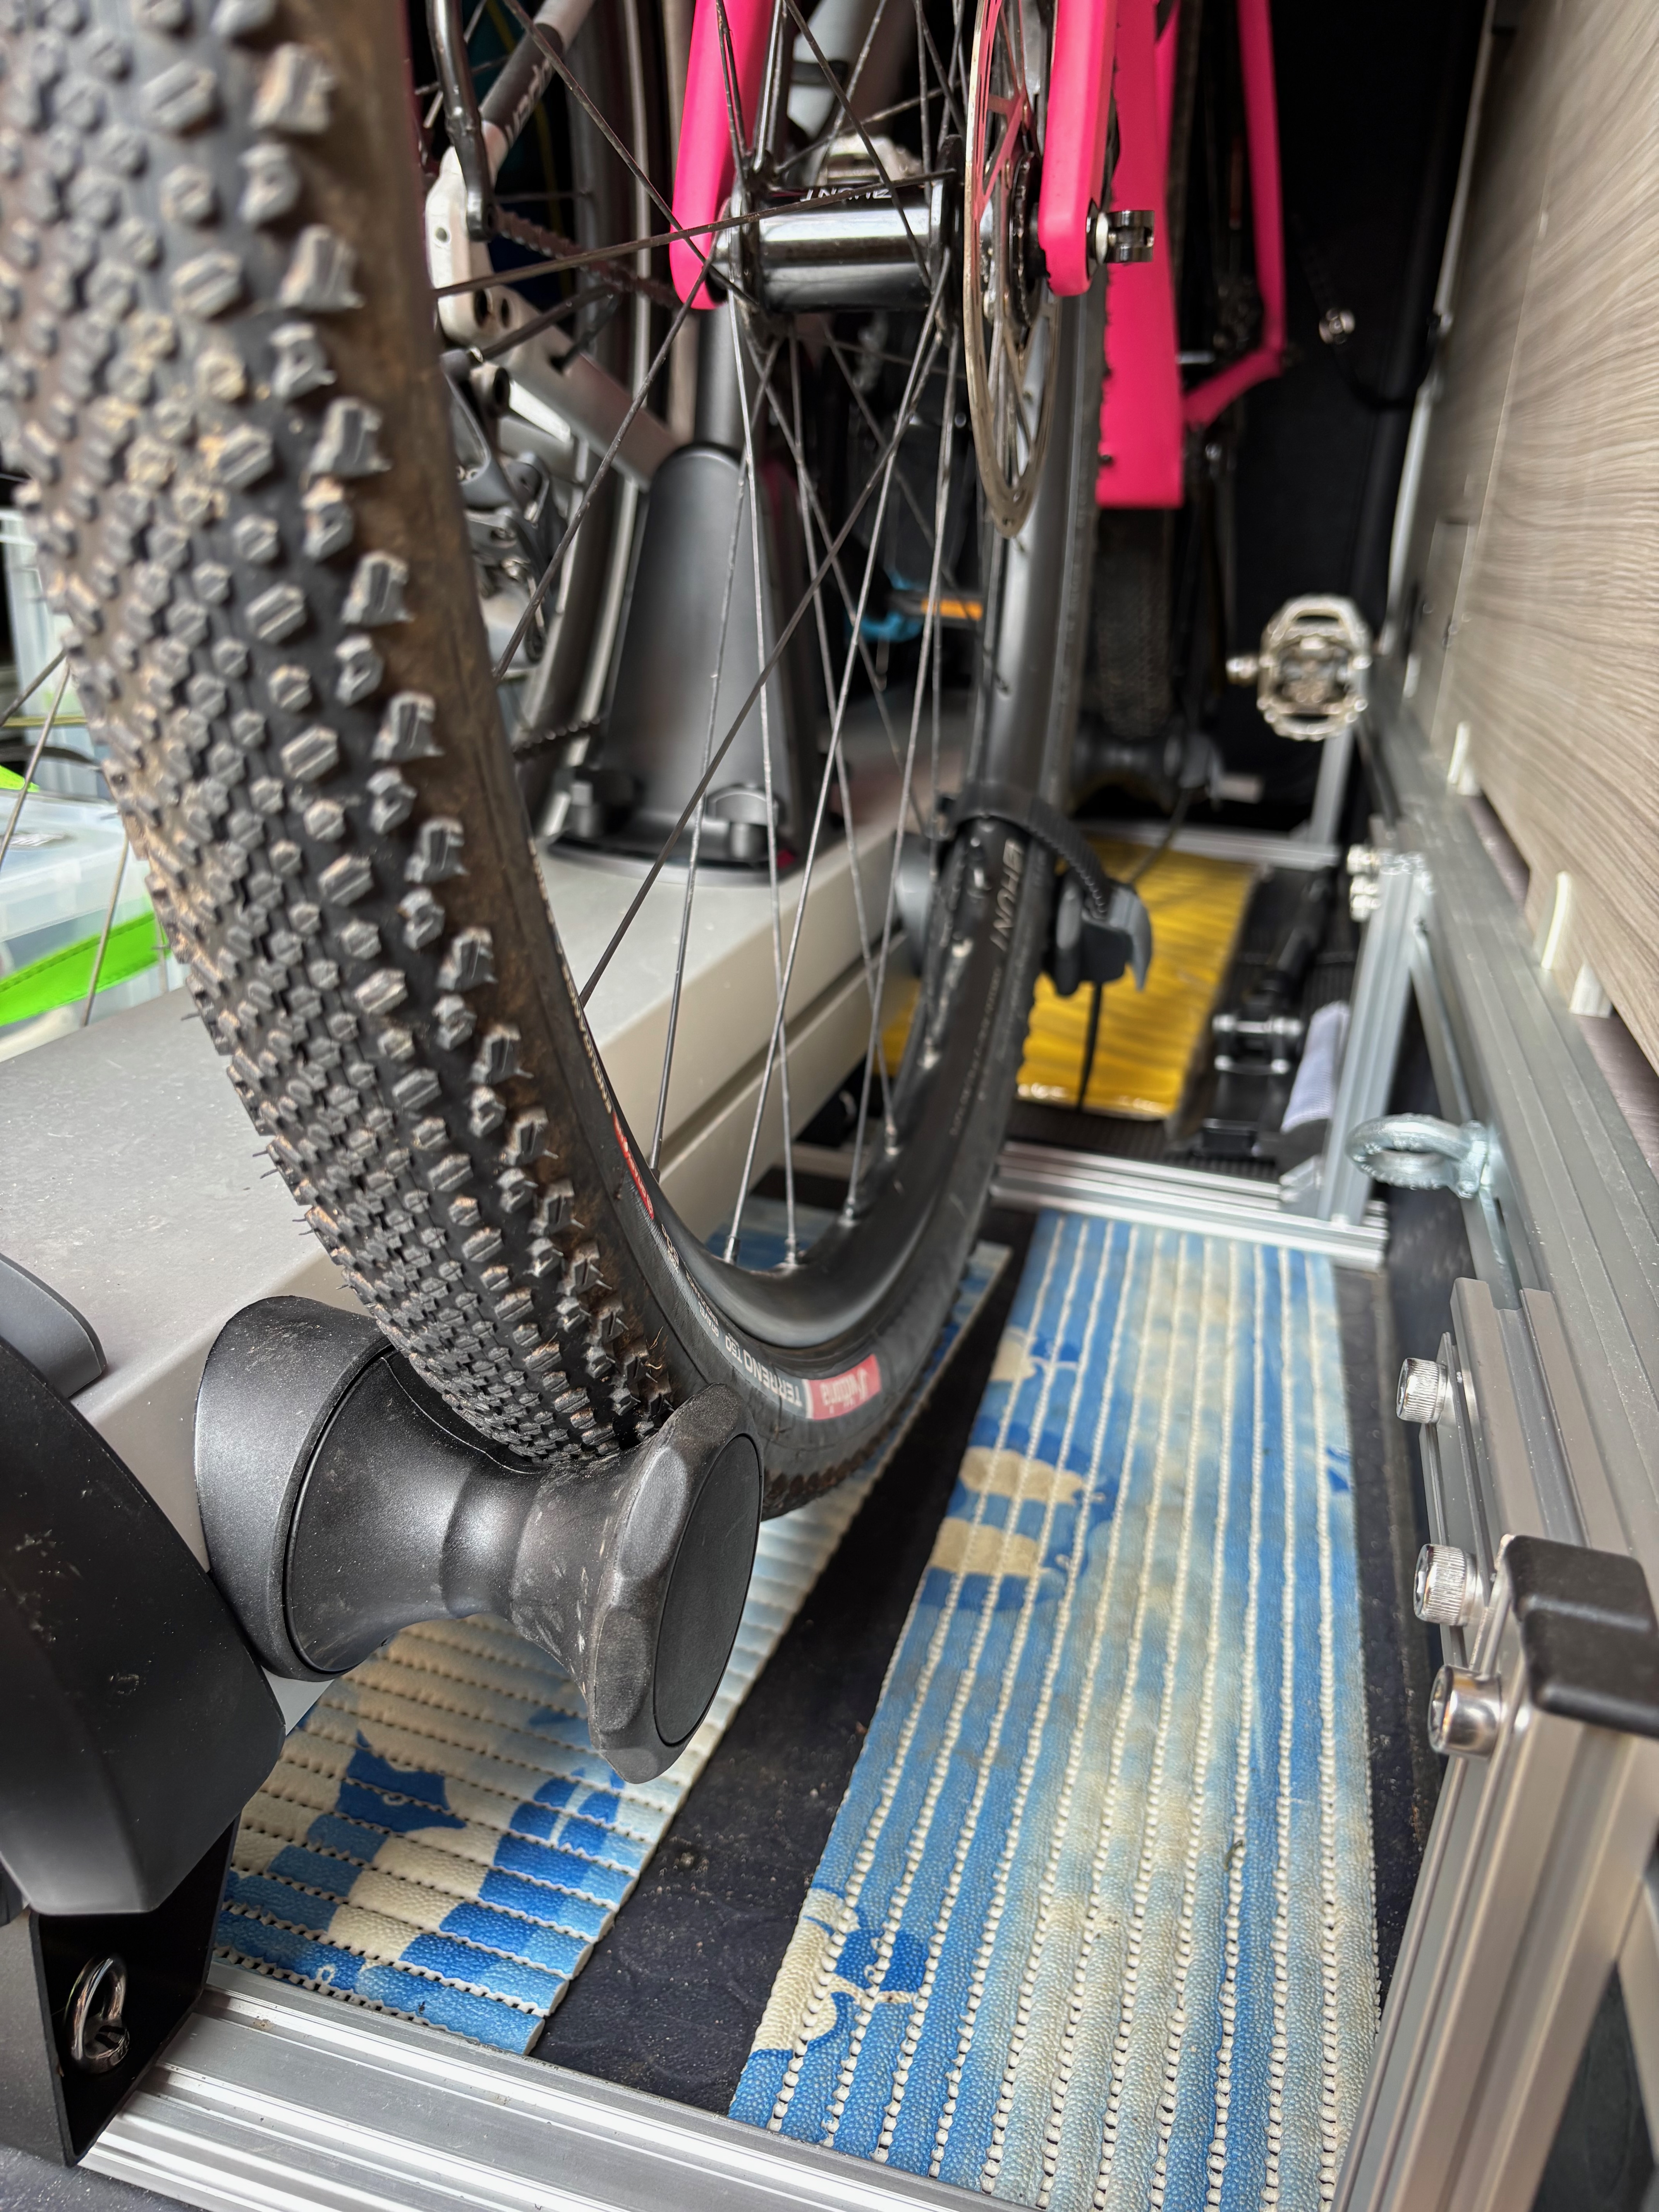
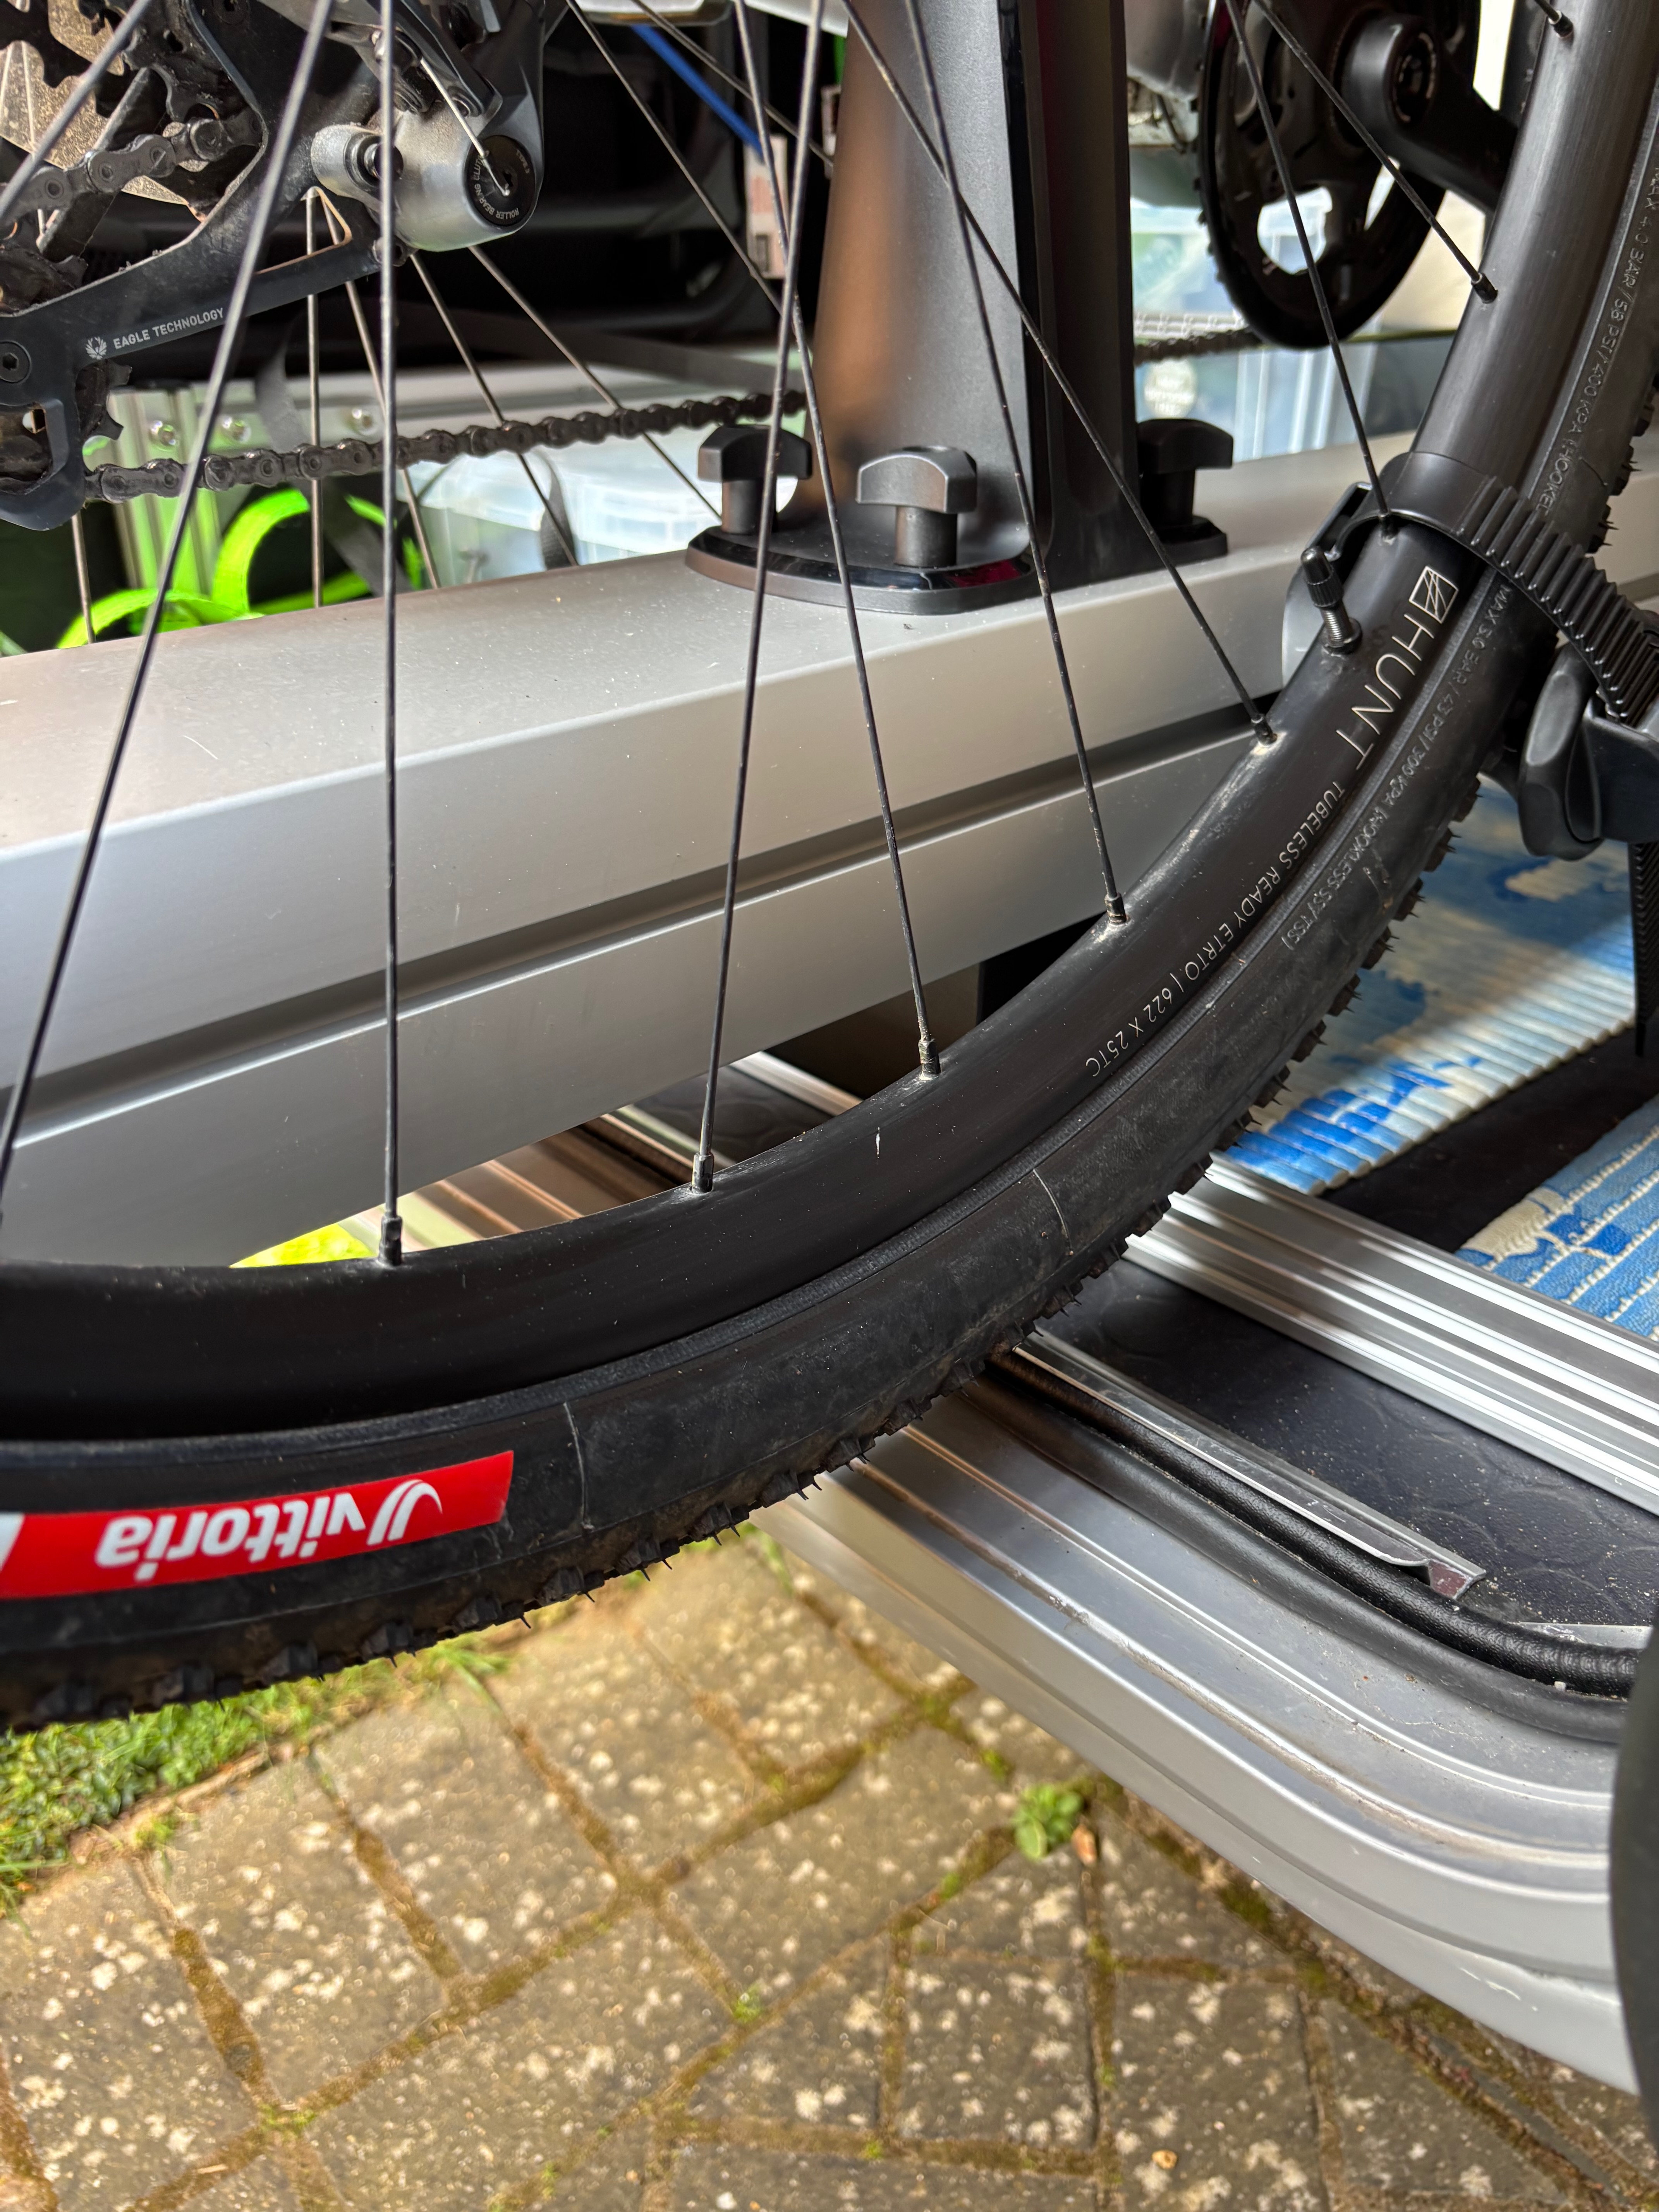
Some pictures of the garage with bikes attached are below
 |
 |
|---|---|
 |
 |
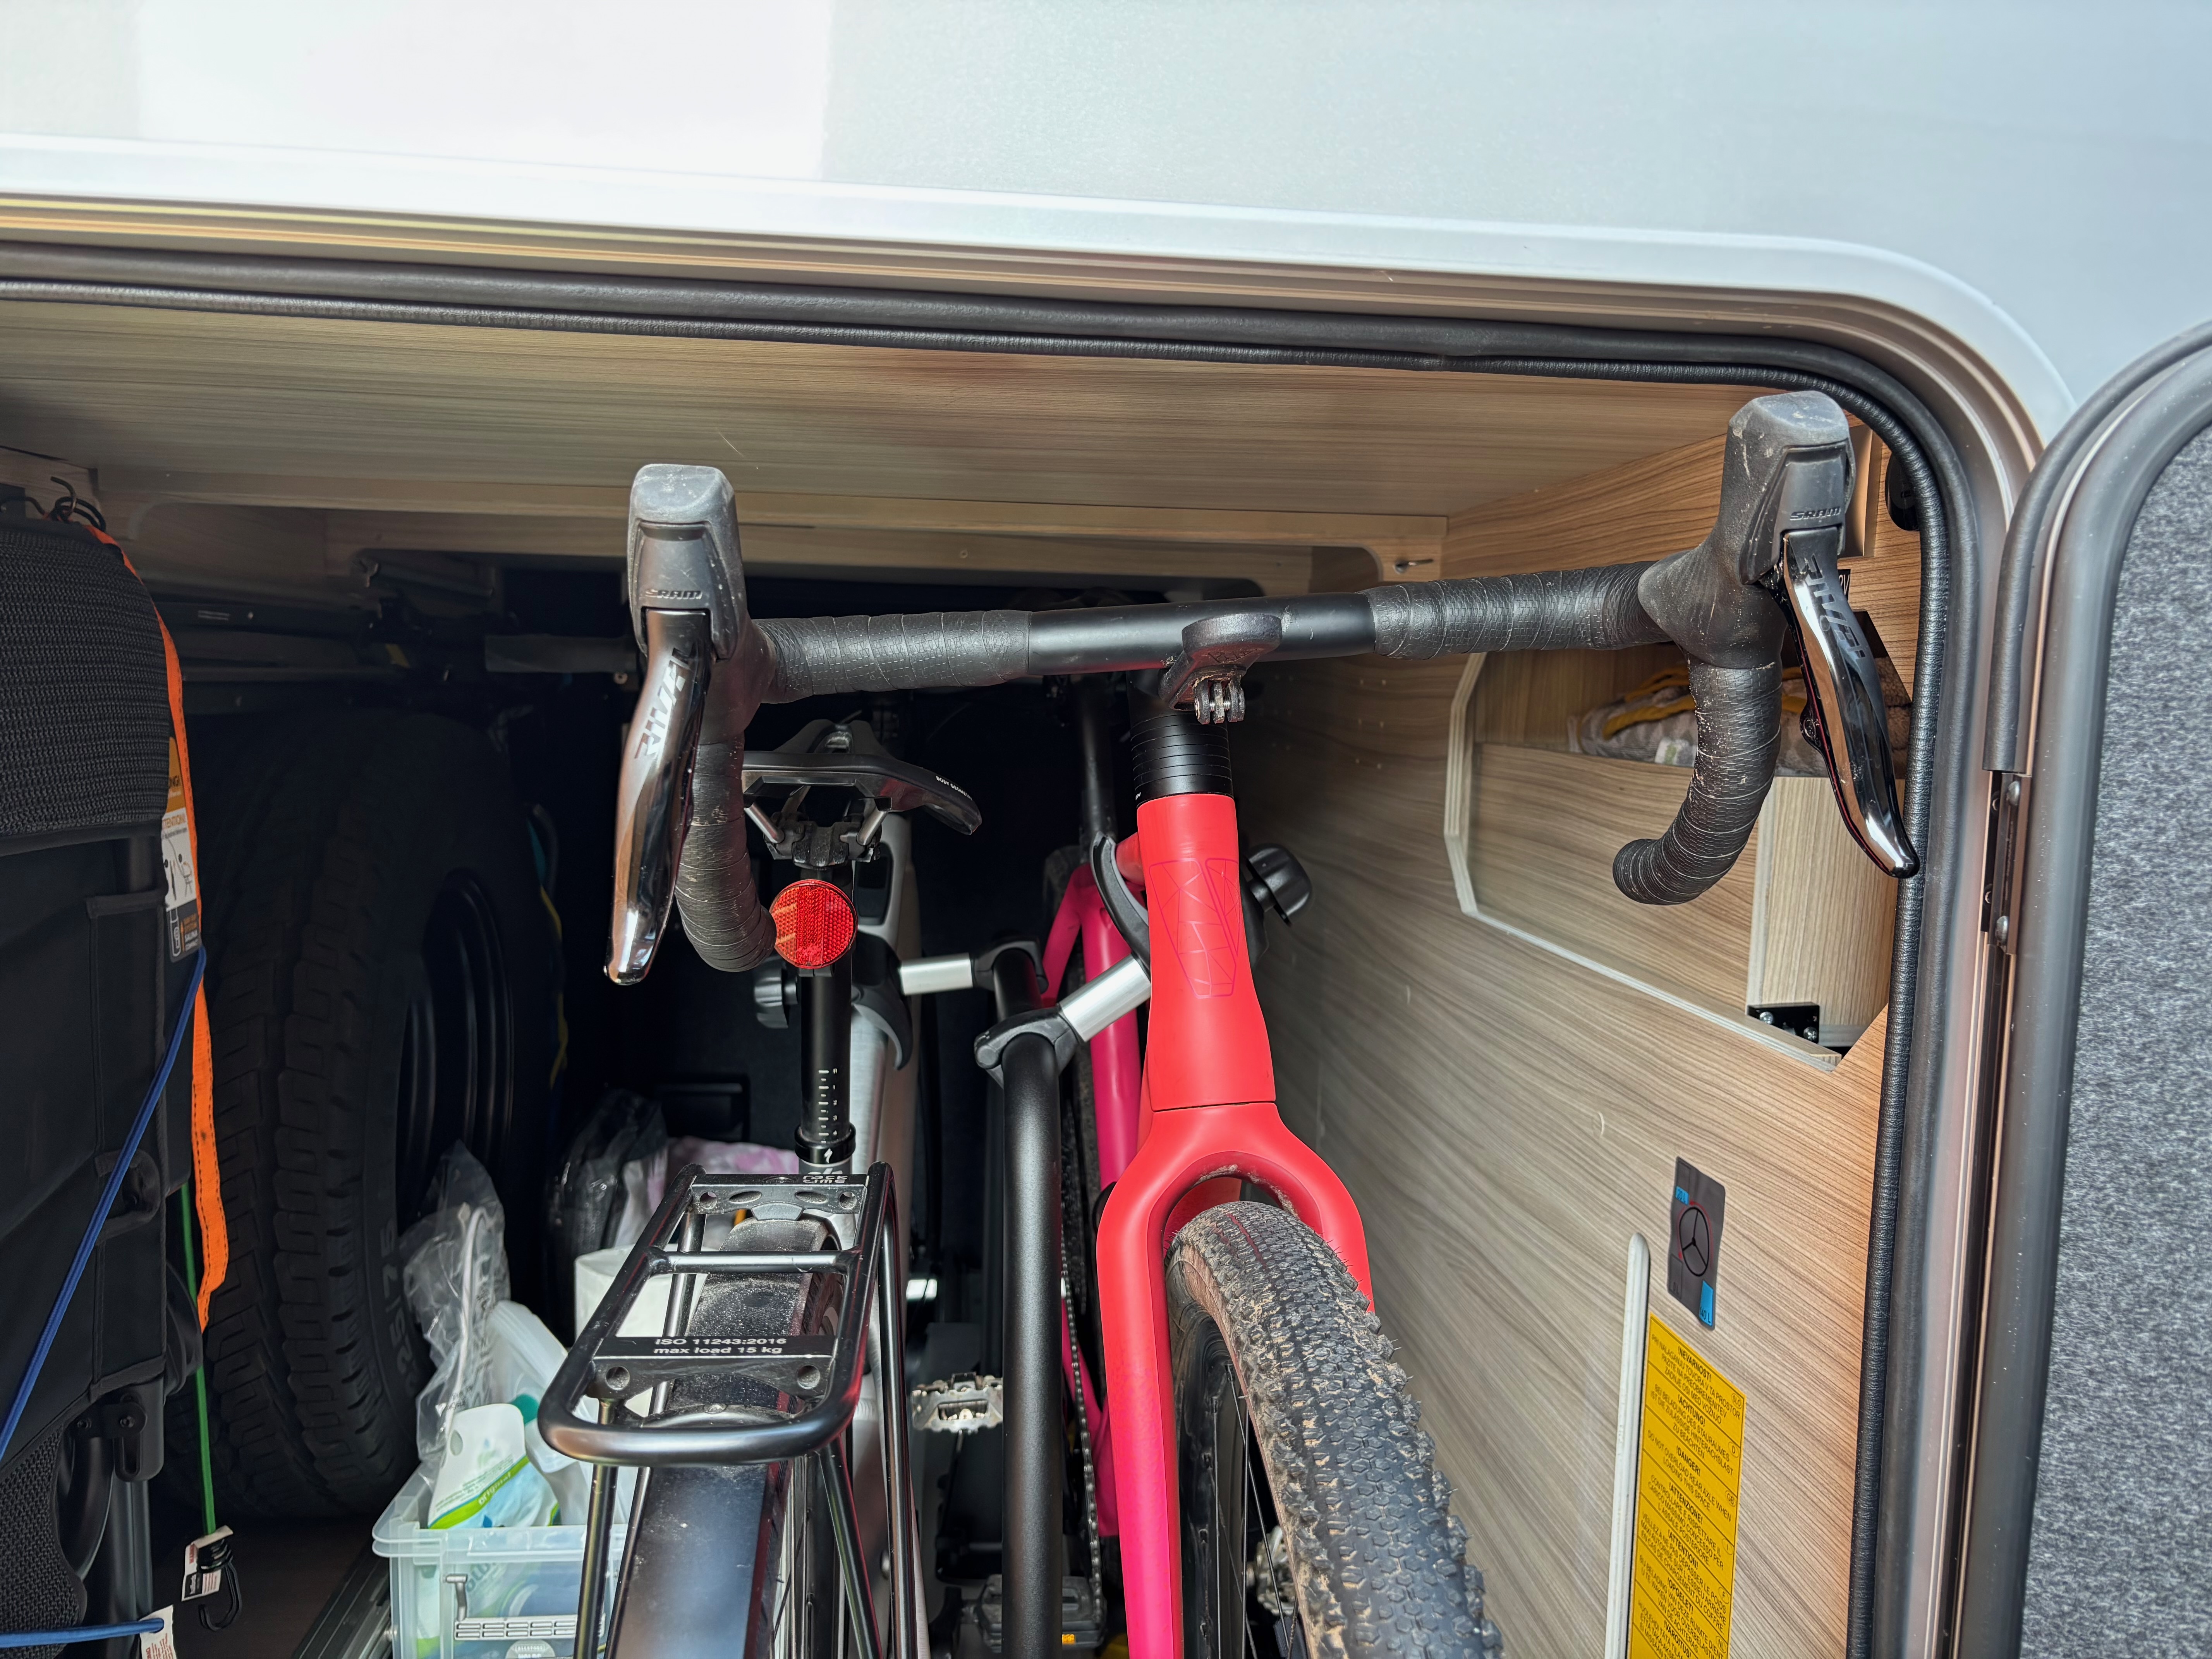 |
An advantage of the system is that it allows the bike wheels to drop lower than the slide by adjusting the wheel locations. This can be seen in the middle images, where the bike tyre can be seen to just clear the door. Were the wheel higher then the handlebars would not fit through the door.
Having fitted this I can now see a way to fit some StarFlex storage and make the overall use of space more efficient.